Taking a screenshot on an HP notebook is one of those simple skills that can save you a surprising amount of time. Whether you want to capture an error message, save an online receipt, share a social media post, or keep a record of an important document, knowing the right shortcut makes everything easier. The good news is that HP laptops offer several built-in ways to take screenshots, and they work across nearly all models running Windows.
TLDR: You can take screenshots on an HP notebook using the Print Screen (PrtSc) key, Windows + Shift + S, or the Snipping Tool. Each method captures your screen slightly differently — from full-screen images to customized selections. Screenshots can be copied to your clipboard or saved automatically to your Pictures folder. The best method depends on whether you need speed, precision, or editing tools.
- Understanding the Print Screen (PrtSc) Key
- Using Windows + Shift + S (Snip & Sketch Shortcut)
- Using the Snipping Tool App
- Using Alt + PrtSc for Active Window Capture
- Screenshot Methods Comparison Chart
- Where to Find Saved Screenshots
- What If Your HP Notebook Doesn’t Have a PrtSc Key?
- Taking Screenshots on HP Notebooks in Tablet Mode
- Editing and Annotating Your Screenshots
- Troubleshooting Common Screenshot Issues
- Pro Tips for Faster Workflow
- Final Thoughts
Understanding the Print Screen (PrtSc) Key
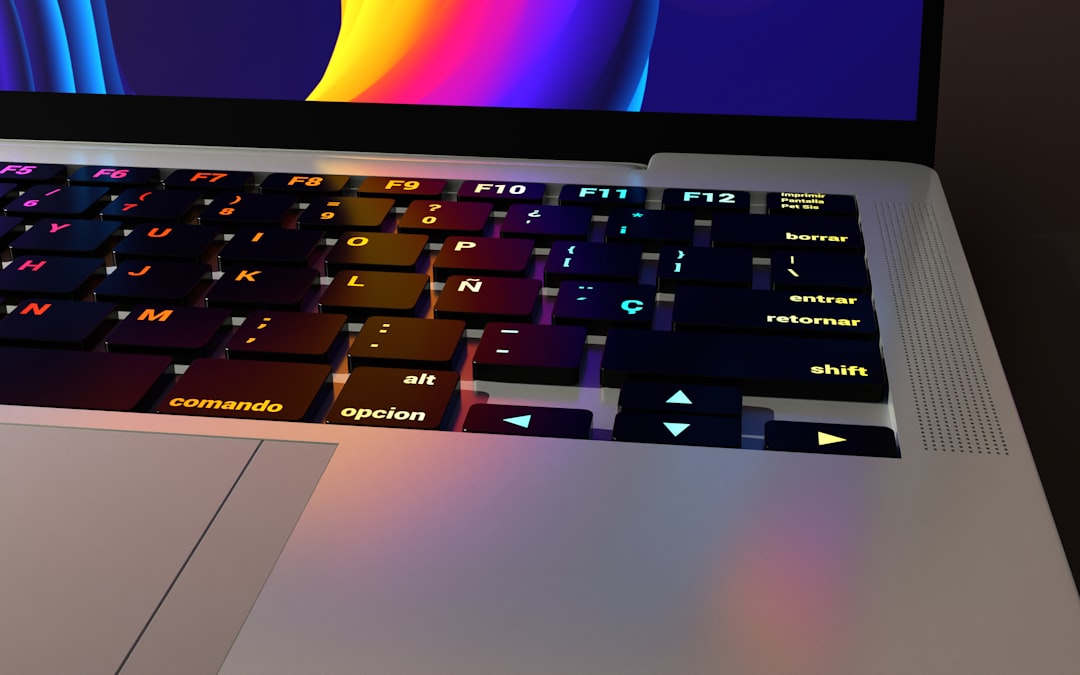
The easiest way to take a screenshot on an HP notebook is by using the Print Screen key, often labeled as PrtSc or PrtScn. On most HP models, this key is located in the upper-right section of the keyboard, typically near the Delete key.
Method 1: Capture the Entire Screen
- Press PrtSc.
- The screenshot is copied to your clipboard.
- Open an app like Paint, Word, or Email.
- Press Ctrl + V to paste the image.
- Save the file in your desired format.
This method is quick and efficient but requires you to manually paste and save the image.
Method 2: Automatically Save Full Screen
If you want to skip the manual pasting step:
- Press Windows + PrtSc.
- Your screen will briefly dim to indicate the capture.
- The screenshot is automatically saved in Pictures > Screenshots.
This option is perfect for quickly saving multiple screenshots without interruption.
Using Windows + Shift + S (Snip & Sketch Shortcut)
For more control over what you capture, the Windows + Shift + S shortcut is incredibly useful. This command opens a small snipping toolbar at the top of your screen.
After pressing the keys, you can choose from four options:
- Rectangular Snip – Drag to select a rectangular area.
- Freeform Snip – Draw an irregular shape.
- Window Snip – Capture a specific window.
- Full-screen Snip – Capture the entire display.
The selected screenshot is copied to your clipboard, and a notification appears. Clicking it opens the image in the Snipping Tool (Snip & Sketch editor), where you can annotate, crop, or highlight areas before saving.
This method is ideal for students, professionals, and anyone who regularly edits screenshots.
Using the Snipping Tool App
Most HP notebooks running Windows 10 or 11 include the built-in Snipping Tool. You can find it by typing “Snipping Tool” in the Start menu search bar.
How to Use It
- Open the Snipping Tool.
- Click New.
- Choose your snipping mode.
- Capture the desired area.
- Edit and save your screenshot.
The Snipping Tool offers additional features such as delayed screenshots (3, 5, or 10 seconds), which are helpful for capturing dropdown menus or pop-ups.
Using Alt + PrtSc for Active Window Capture
If you only want to capture the window you’re currently using:
- Click on the window to make sure it’s active.
- Press Alt + PrtSc.
- Paste it into an app like Paint using Ctrl + V.
- Save the image.
This is extremely useful when multitasking and you want to avoid capturing unnecessary background clutter.
Screenshot Methods Comparison Chart
| Method | Best For | Auto Save | Editing Options | Ease of Use |
|---|---|---|---|---|
| PrtSc | Quick full-screen copy | No | No | Very Easy |
| Windows + PrtSc | Quick full-screen save | Yes | No | Very Easy |
| Alt + PrtSc | Active window only | No | No | Easy |
| Windows + Shift + S | Custom area selection | No (Clipboard) | Yes | Very Easy |
| Snipping Tool App | Advanced screenshots | Yes | Yes | Moderate |
Where to Find Saved Screenshots
If you use Windows + PrtSc, your screenshots are saved automatically in:
This PC > Pictures > Screenshots
If you only copied the screenshot to your clipboard, you’ll need to paste it into a program and manually choose a save location.
What If Your HP Notebook Doesn’t Have a PrtSc Key?
Some compact HP models or smaller keyboards combine the Print Screen function with another key.
Look for:
- Fn + PrtSc
- Fn + Windows + PrtSc
If the label is printed in small font beneath another key, holding the Function (Fn) key activates it.
Taking Screenshots on HP Notebooks in Tablet Mode
If you’re using an HP convertible notebook (like an HP Pavilion x360) in tablet mode, you can:
- Press the Power button + Volume Down button simultaneously.
This works similarly to taking a screenshot on a smartphone and automatically saves the file in your Screenshots folder.
Editing and Annotating Your Screenshots
Once you’ve captured your screenshot, you might want to highlight important parts. The built-in Snipping Tool allows you to:
- Use a digital pen for drawing
- Highlight important text
- Crop unnecessary sections
- Add simple annotations
- Share directly via email
For basic everyday needs, this built-in editor is more than sufficient.
Troubleshooting Common Screenshot Issues
Problem: Pressing PrtSc doesn’t seem to work.
- Try adding the Fn key.
- Check if your keyboard requires a shortcut combination.
- Restart your laptop if shortcuts become unresponsive.
Problem: Screenshot not saving automatically.
- Ensure you’re using Windows + PrtSc, not just PrtSc.
- Check your Pictures folder.
- Verify that your user account has save permissions.
Pro Tips for Faster Workflow
- Pin Snipping Tool to your taskbar for instant access.
- Use Windows + Shift + S for quick selective captures.
- Rename screenshots immediately to stay organized.
- Create a dedicated folder for work or school captures.
The more you use these shortcuts, the more natural they’ll become — saving you time each day.
Final Thoughts
Learning how to take screenshots on an HP notebook isn’t just about pressing a button — it’s about choosing the right method for your needs. If you want speed, use Windows + PrtSc. If you need precision, choose Windows + Shift + S. If you want editing tools built in, open the Snipping Tool.
No matter which HP model you own — Pavilion, Envy, Spectre, EliteBook, or ProBook — these methods will work seamlessly with Windows. Mastering them will make everything from troubleshooting to collaboration significantly easier.
Once you know the shortcuts, capturing your screen becomes second nature — quick, effortless, and incredibly useful.


Leave a Reply