Building your own gaming PC is not only a rewarding experience but also a smart way to get the most bang for your buck. With a bit of research and careful planning, you can put together a budget gaming rig that plays modern games smoothly without draining your wallet. Whether you’re new to PC building or looking to save money on your next upgrade, this guide will walk you through each step of the process.
TL;DR: Building a budget gaming PC involves choosing the right components that offer high value for performance while staying within a reasonable price range. CPUs with integrated graphics or affordable GPUs, fast yet inexpensive RAM, and budget-friendly motherboards can deliver great gaming experiences. Focus on compatibility and long-term upgrade potential. With patience and smart shopping, you can get excellent performance for significantly less than pre-built options.
- Step 1: Define Your Budget and Expectations
- Step 2: Choose Your CPU and GPU Wisely
- Step 3: Select the Motherboard
- Step 4: Choose RAM
- Step 5: Select Storage Options
- Step 6: Pick a Power Supply (PSU)
- Step 7: Choose a Case
- Step 8: Assemble the Components
- Step 9: Install Operating System and Drivers
- Tips to Save More Money
- Conclusion
Step 1: Define Your Budget and Expectations
Before you start selecting parts, it’s essential to determine how much you’re willing to spend. A realistic starting point for a budget PC in 2024 is somewhere between $500 and $800. This puts you in a good position to enjoy 1080p gaming at medium to high settings, depending on the game.
Ask yourself:
- What games do I plan to play?
- Do I need peripherals like a monitor, keyboard, or mouse?
- Am I comfortable upgrading hardware later?
Once you’ve set your expectations, you’ll be ready to make informed choices that align with your budget.
Step 2: Choose Your CPU and GPU Wisely
The two most important components for gaming performance are the CPU (Central Processing Unit) and GPU (Graphics Processing Unit). For a tight budget, it’s important to get the best balance between the two.
Best Budget CPU Options:
- AMD Ryzen 5 5600G – Includes solid integrated graphics, suitable if you’re skipping a dedicated GPU initially.
- Intel Core i5-12400F – Great performance for the price with a discrete GPU.
Budget GPU Options (if going for dedicated graphics):
- NVIDIA GTX 1650 or GTX 1660 Super
- AMD Radeon RX 6500 XT or RX 6600
Consider pairing a slightly lower-end CPU with a stronger GPU if gaming is your focus. If you’re planning to add a GPU later, go with a capable CPU with integrated graphics for now.
Step 3: Select the Motherboard
The motherboard connects all the components and determines your upgrade options. You don’t need to splurge here, but ensure it has the features you need.
Key Tips:
- Match the motherboard socket to your CPU (e.g., AM4 for Ryzen, LGA1700 for newer Intel chips).
- Ensure it has enough RAM slots and M.2 SSD support.
- Look for built-in Wi-Fi and Bluetooth if needed.
Popular budget chipsets include the B550 for AMD and B660 or H610 for Intel. Brands like MSI, ASUS, and Gigabyte offer reliable options for under $100.
Step 4: Choose RAM
Modern gaming requires at least 16GB of RAM. For best performance, go with a dual-channel 2x8GB kit running at 3000 to 3600 MHz. RAM is one of the easier components to upgrade later, but starting with 16GB ensures you won’t hit memory bottlenecks.
- Look for trusted brands like Corsair, G.Skill, or Crucial.
- Lower latency (measured in CAS) helps performance slightly.
- Make sure the RAM is compatible with your motherboard standard (DDR4 or DDR5).
Step 5: Select Storage Options
Your operating system and most-played games should be installed on a fast SSD. Traditional hard drives are okay for media files, but SSDs drastically reduce load times and improve system responsiveness.
Budget Recommendations:
- M.2 NVMe SSD (500GB or 1TB) – Ideal for speed and value.
- Optional: 1TB HDD – Affordable extra storage for less-used data and games.
Brands like Samsung, WD, and Kingston offer reliable and fast SSDs at competitive prices. Ensure your motherboard has an M.2 slot to take advantage of NVMe speeds.
Step 6: Pick a Power Supply (PSU)
Don’t skimp on your PSU. A reliable unit will protect your components and offer cleaner power and longevity. Aim for at least 80+ Bronze certification to ensure efficiency.
Specs to Consider:
- Wattage: 500W–650W is enough for most budget systems with mid-range GPUs.
- Modularity: Semi or fully modular PSUs make cable management easier but aren’t mandatory.
- Brand: Stick with Corsair, EVGA, Seasonic, or Cooler Master for trustworthy quality.
Step 7: Choose a Case
The case houses all your components and affects both the aesthetic and airflow of your system. For budget builds, look for a case that offers:
- Good airflow (mesh front panel is ideal)
- Pre-installed fans to save on cooling costs
- Sufficient space for your GPU and cable management
Popular entry-level cases include the NZXT H510 (when on sale), Cooler Master Q300L, and Thermaltake Versa H18. Spend around $50–$70 for a solid enclosure.
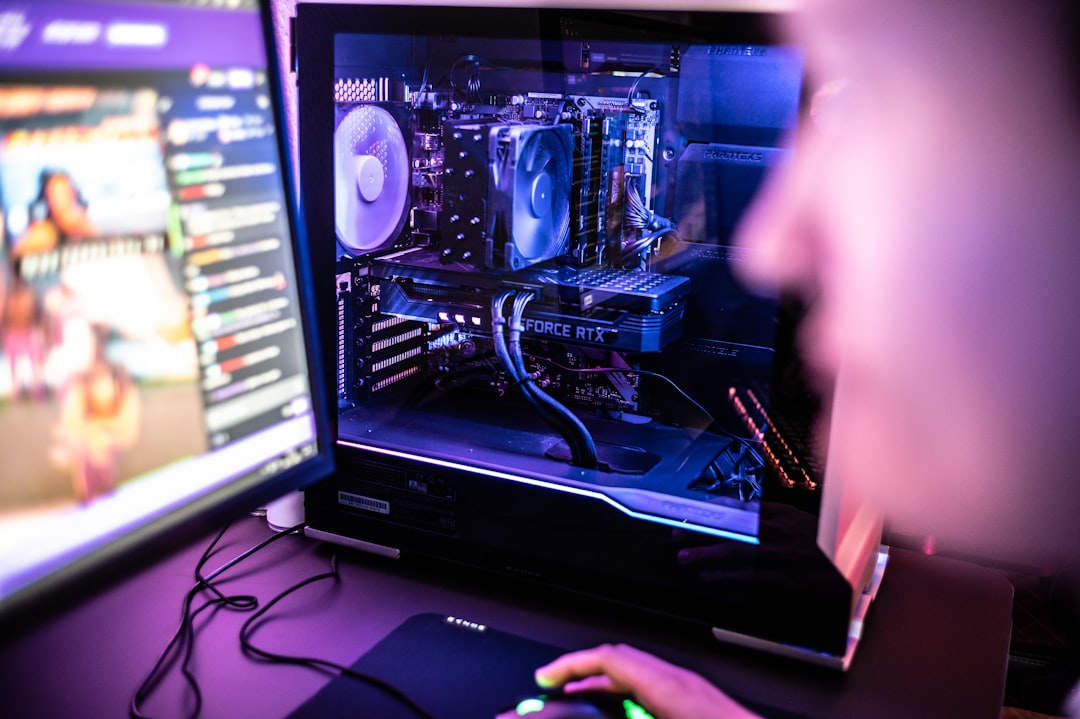
Step 8: Assemble the Components
Now that you have all your parts, it’s time to put them together. This step may seem intimidating, but it’s mostly about being methodical and patient. Lay everything out on a non-static surface and follow your motherboard manual closely.
General Steps:
- Install the CPU onto the motherboard.
- Attach the CPU cooler.
- Insert RAM sticks in the correct slots (refer to the manual).
- Mount the motherboard into the case.
- Install the power supply and connect power cables.
- Add your SSD and HDD as needed.
- Install the GPU (if you have one).
- Connect case fans and front panel connectors.
- Recheck all connections before powering on.
You can also find countless step-by-step video tutorials online that walk you through the build process visually, tailored to your specific hardware.
Step 9: Install Operating System and Drivers
You’ll need a USB drive (at least 8GB) to install Windows or a Linux distribution. Use Microsoft’s Media Creation Tool to prepare it. Once the PC is on and in BIOS, set the USB drive as the initial boot device and install the OS.
After installation:
- Install the latest motherboard drivers from the manufacturer’s website.
- Update the GPU drivers via NVIDIA or AMD software.
- Run Windows Update for any OS patches.
Tips to Save More Money
- Check local marketplaces or refurbishers for used GPUs or cases.
- Watch for sales and bundle deals on sites like Newegg, Amazon, and Micro Center.
- Keep an eye on Reddit forums like r/buildapc or r/buildapcsales for the best current deals.
- Don’t rush the build — sometimes the perfect part goes on sale next week.
Conclusion
Building a budget gaming PC may seem like a challenge, but it’s a rewarding process that can teach you a lot about PC components, compatibility, and performance. More importantly, it gives you full control over your investment. By carefully selecting parts and being patient with your purchases, you can build a powerful, long-lasting system that fits your needs and budget.
Take your time, do your research, and enjoy the journey — gaming on a machine you built yourself is an experience like no other.


Leave a Reply