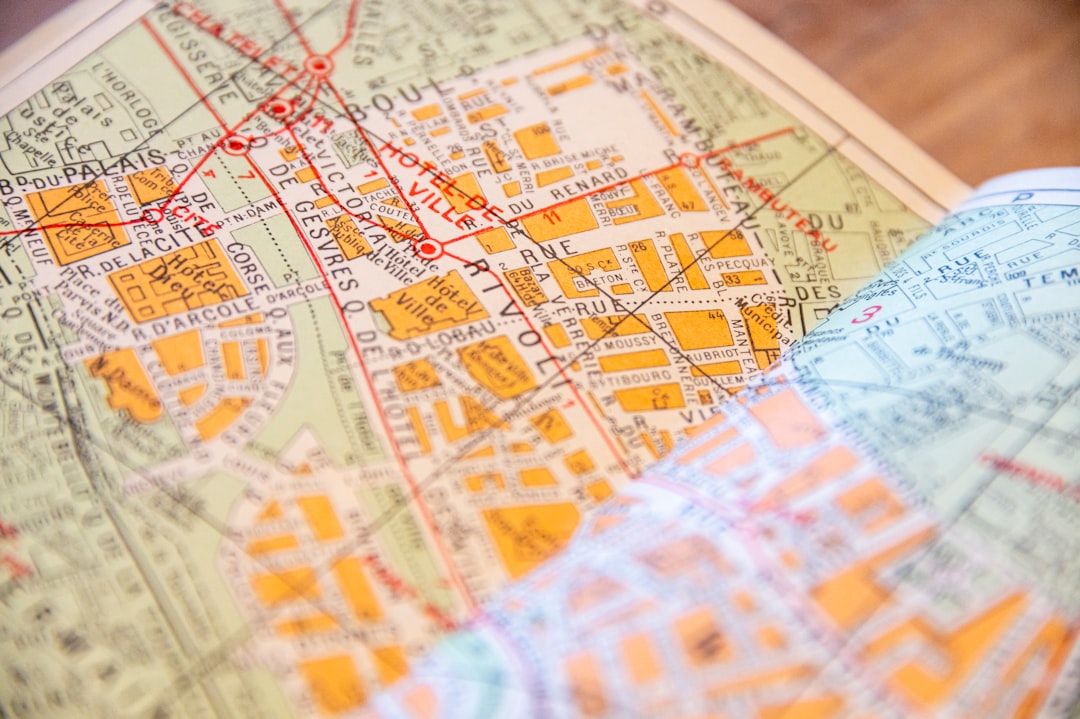
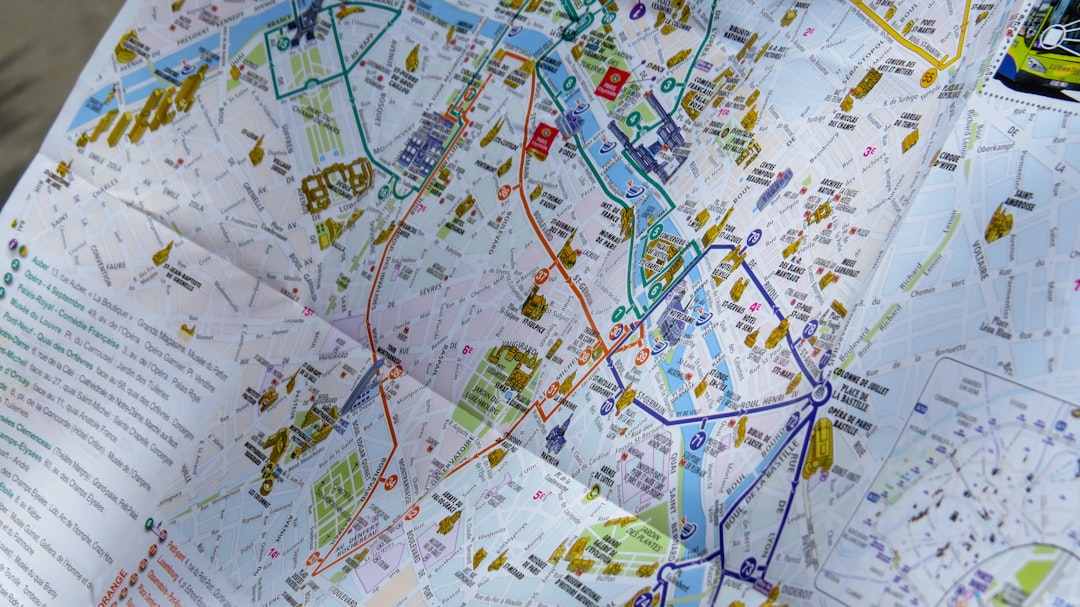
Creating a reference map can be an incredibly rewarding process, whether for educational, professional, or personal use. Reference maps serve as visual tools that portray real-world geographic features such as boundaries, roads, cities, physical landmarks, and water bodies. Unlike thematic maps that focus on specific data trends, reference maps provide an all-encompassing view of an area’s physical and political attributes. Learning how to create your own reference map not only enhances your cartographic skills but also deepens your understanding of spatial relationships and geographical context.
Step-by-Step Guide to Creating Your Own Reference Map
1. Define the Purpose and Audience
Before diving into the technical elements, it’s important to establish the purpose of your map. Are you mapping regional landmarks for tourists, or are you creating a study guide for geography students? Defining who will use your map helps determine the level of detail, style, and type of features to include.
- Educational use: Simple and clear with labeled features like rivers and capitals.
- Professional use: More detailed with scale bars, coordinates, and legends.
- Recreational use: Highlight points of interest, accessibility, and scenic routes.
2. Choose the Geographic Area
Select the geographic extent you want to depict. It could be a city, a country, or even a whole continent. Your choice will influence the type of data you need and the amount of detail your map will contain.
Use online tools like Google Earth or open geographic information systems (GIS) platforms to browse through options and decide on your area of interest.
3. Gather the Required Data
Data collection is crucial for accuracy and completeness. Depending on your map’s scope, you might need the following data layers:
- Political boundaries (countries, states, counties)
- Transportation (roads, railways)
- Natural features (rivers, mountains, lakes, forests)
- Cities and towns
- Infrastructure (airports, ports, hospitals)
Reliable sources for geographic data include:
- Natural Earth (naturalearthdata.com)
- USGS EarthExplorer
- OpenStreetMap (OSM)
- National Geographic Institutes of various countries
4. Select Mapping Software or Tools
There are a variety of programs available to visualize and edit spatial data, from beginner-friendly platforms to professional GIS systems.
- Beginner tools: Google My Maps, MapChart, Inkarnate (great for stylized maps)
- Intermediate tools: QGIS (free), ArcGIS Online
- Advanced tools: ArcGIS Pro, AutoCAD Map 3D
If you’re new to map-making, start with a basic program and expand your toolkit as you grow more comfortable.
5. Import and Organize Your Data
Once you’ve chosen your tools, it’s time to upload or load your data. In GIS platforms like QGIS, you can import shapefiles, GeoJSON, or CSV files containing coordinates.
Organize your data into layers. For example:
- Layer 1: Base map with land and water
- Layer 2: Political boundaries
- Layer 3: Roads and infrastructure
- Layer 4: Cities, natural features, and labels
Layer hierarchy is important. Always place base layers at the bottom and overlay feature-specific data on top.
6. Customize the Map’s Visual Appearance
This is where your creativity meets functionality. The visual design of your map must make the data easy to read and aesthetically pleasing.
- Colors: Use contrasting colors for land, water, roads, and forests.
- Icons and symbols: Choose clear symbols for features like airports, waterfalls, monuments.
- Labels: Make sure font size is legible and labeling doesn’t interfere with other features.
- Legends: Include a legend for unfamiliar symbols or color meanings.
Keep consistent styling across the map to maintain clarity and avoid visual clutter.
7. Add Map Elements
To create a complete reference map, add essential cartographic elements:
- Legend: Defines all symbols and colors used
- Scale bar: Shows the map’s scale in miles or kilometers
- North arrow: Indicates map orientation
- Title: Describes the map’s purpose and location
- Source/Credit: Acknowledges data providers or software used
These elements make your map more professional and easy to interpret.
8. Review, Adjust, and Finalize
Refinement is the final step. Re-check your layers for alignment, verify spelling in labels, and test the map’s readability by printing or sharing it with someone unfamiliar with it. Make sure everything from the legend to the borders is properly aligned and aesthetically balanced.
Once satisfied, export your map in the appropriate format (JPEG, PNG, PDF, or interactive HTML) based on how it will be used (print, web, app).
Benefits of Creating Your Own Reference Map
Whether you’re a student, educator, or curious explorer, making your own reference map has several advantages:
- Improves geographic literacy and spatial thinking
- Allows for customized, purpose-based mapping
- Offers hands-on experience with data visualization tools
- Empowers you to create resources tailored to your specific needs
Plus, designing a map from scratch fosters attention to detail and encourages creative problem-solving—a perfect blend of art and science.
FAQs
Q: What is the difference between a reference map and a thematic map?
A: A reference map displays general geographic information such as boundaries, cities, rivers, and roads. In contrast, a thematic map focuses on specific themes like population density or climate data, highlighting patterns or distributions.
Q: Do I need advanced technical skills to make a reference map?
A: Not at all. There are user-friendly mapping platforms available online that require little to no technical background. As you progress, you can explore more advanced software like QGIS or ArcGIS.
Q: What format should I use to save my map?
A: It depends on the map’s intended use. For online sharing, use PNG or JPEG. For printing, high-resolution PDF is ideal. If your map is interactive, HTML or embedded files are suitable.
Q: Can I use satellite imagery in my reference map?
A: Yes, many GIS programs allow the inclusion of satellite imagery as a base layer. This can add depth and realism, especially in environmental or terrain-specific maps.
Q: How often should reference maps be updated?
A: That depends on the region and the map’s purpose. In rapidly changing areas, such as urban centers, updates might be needed annually. In more stable regions, updates every few years may suffice.
Creating a reference map is a worthwhile endeavor that blends data, design, and geographic insights. With the right tools and steps, anyone can become a mapmaker—and in doing so, foster a greater connection to the world around them.


Leave a Reply